Once upon a time, I bought some plans and materials for a small Walking Beam Stirling Engine. I have seen lots of small home built steam, heat, and even internal combustion engines over the years and thought it would be fun to make one.
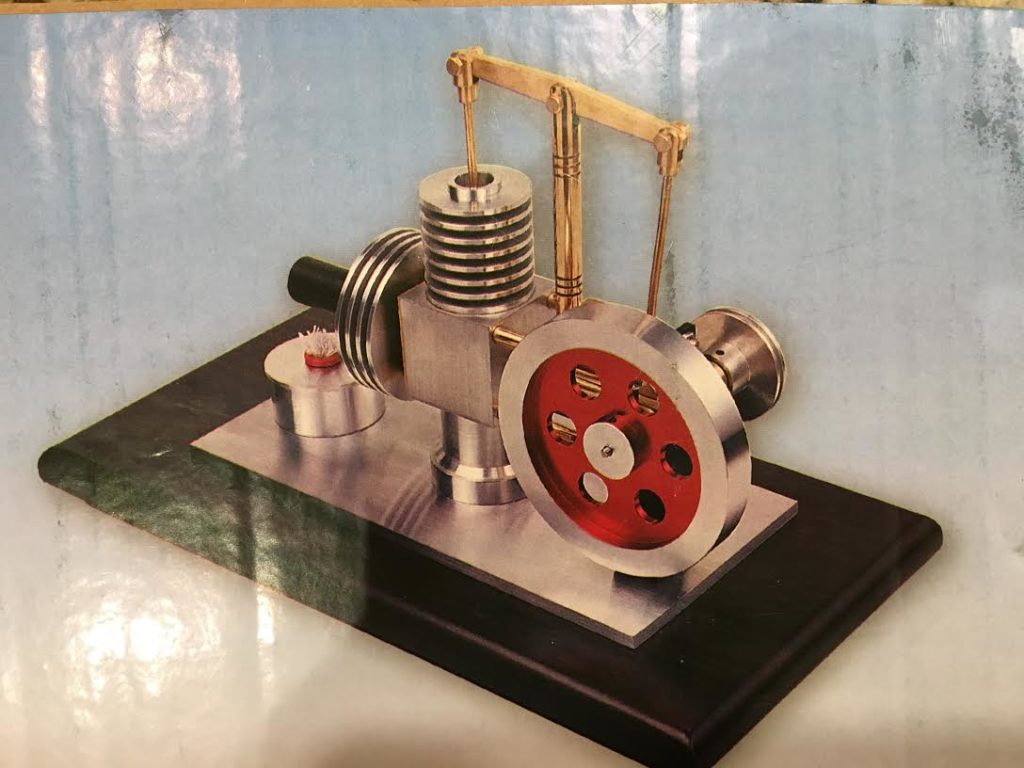
Here’s a picture of what it should look like when it is finished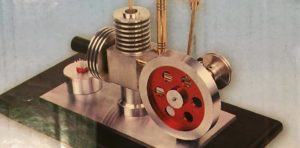
Well, the box with the plans and materials has sat in my garage for 5 years now, and I think it is time to finally get started. So I have made a deal with myself to make a part each week until it is done.It would be an opportunity to really get to know our lathe and milling machine at AMT. I have mostly used bigger, more powerful, and more rigid machine tools at The Crucible, and Techshop. Working with the smaller, lighter machines we have at AMT and how to deal with their limitations will be a learning experience.
This week I was able to make 2 parts.
First I made the bracket which supports the crank arm and flywheel shaft. It started out as a 3mm thick brass plate. It needed to be cut to size and shape, and have some precisely positioned holes drilled. It also needed to be bent with a 90 degree angle. It took a bit of thinking about what order to do the operations. The holes need to be a precise height above the platform it all mounts on, and I know that the bend was going to use some of the material up in the curve, but I didn’t know how much. So I decided to “square up” the plate, then bend it, then cut it to shape, and finally drill the holes in the right spots. I used the milling machine to shape, the vise and a hammer to bend, and finally the drill press to do these operations. Here’s a picture of the finished part.
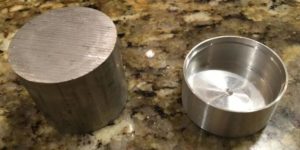
The other part I made was the fuel tank, which is basically a little aluminum cup with a lid and a wick to burn alcohol. This started out as a round bar. On the lathe I “faced” or flattened one end, turned it around, hollowed out the inside of the cup, and finally turned the outside to the final dimensions. Here’s a before and after picture.
So far I am pleased with the results. In hollowing out the inside of the cup I learned that those carbide boring bars that came with our lathe are just too flexible to be useful. But a good sharp HSS tool was able to make clean cuts.
Next I think I will try to make the cylinders. The deep cuts to make the cooling fins look like they may be a challenge to get right.