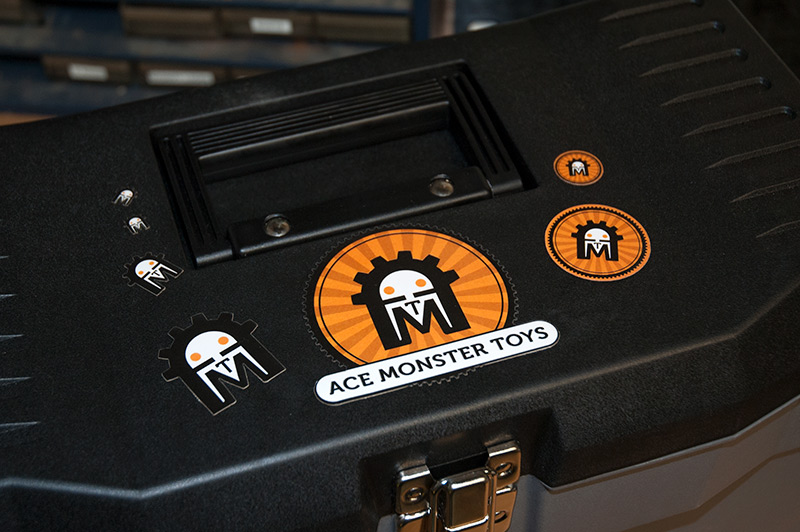
Today we put down the exacto knife and fire up the laser to create some custom die cut stickers. Name of the game is alignment, patience and a Master Chef level of logo placement.
Note: This is not intended for vinyl based decals, check out the vinyl cutter upstairs for cutting vinyl.
The Files
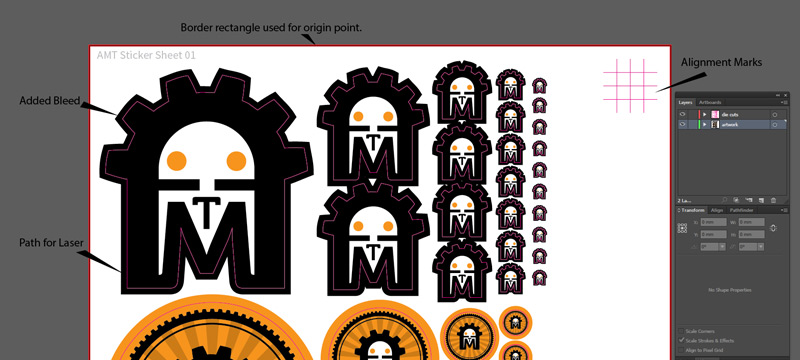
Here’s the main illustrator file, the AMT stickers are printed from this file and the cut lines are exported from here as well. One thing of note is the smaller the sticker the more it will show if you’re not perfectly aligned. Circles being the worse offenders.
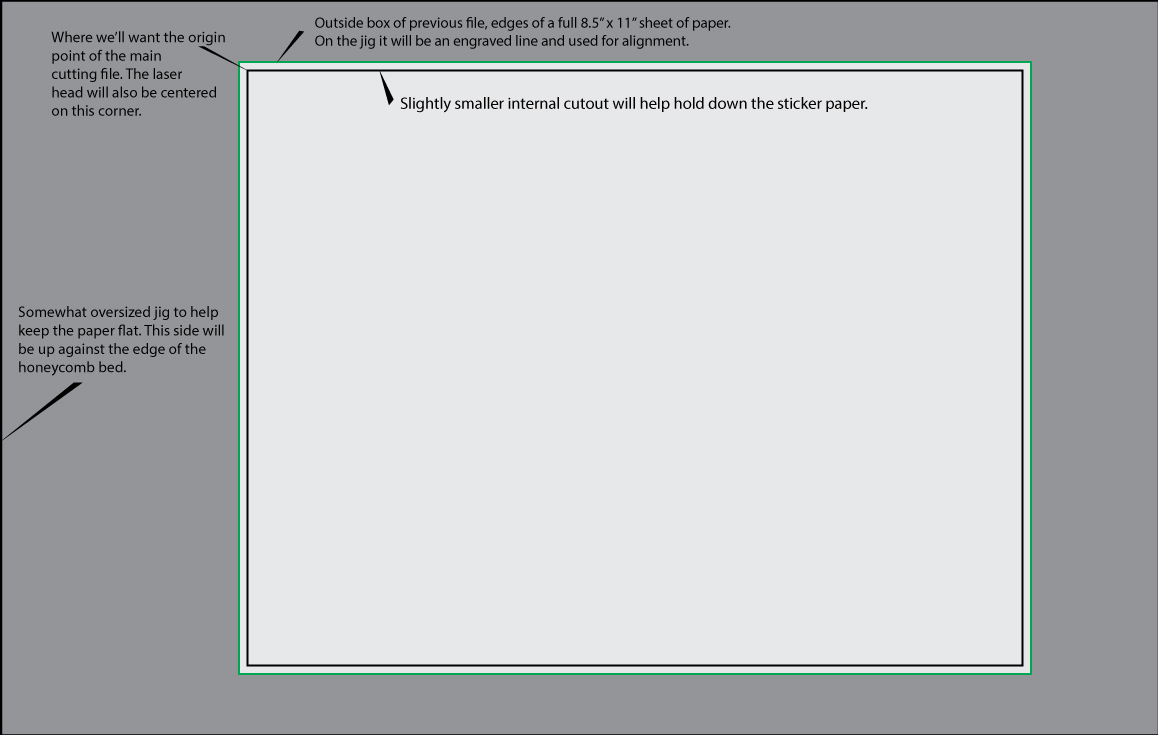
Above is the file for the alignment jig which the paper is taped onto. For the material I used some 3mm scrap acrylic we had laying about.
Printing Out
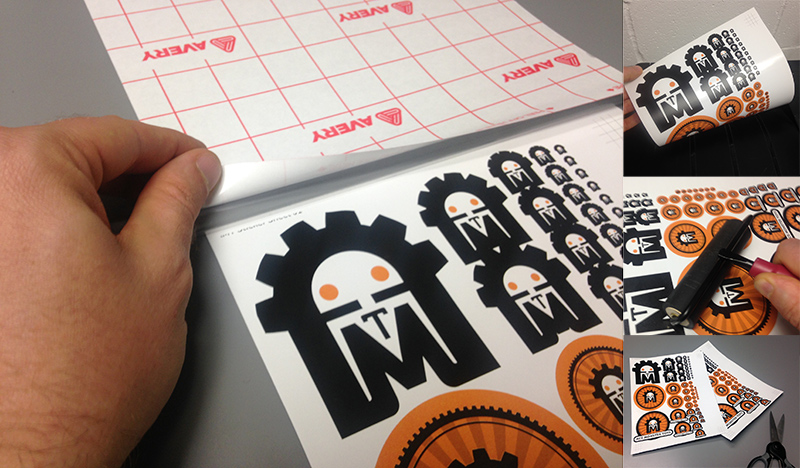
Print out the sticker sheet (I used a laser printer in my home office) and make sure to limit the amount of trapped air bubbles as you apply the laminate. Cut off the excess laminate, while trying not to cut into the paper too much as the edges are used to align the sheet. I used Avery self-adhesive laminating sheets and a matte printable sticker paper.
On The Laser
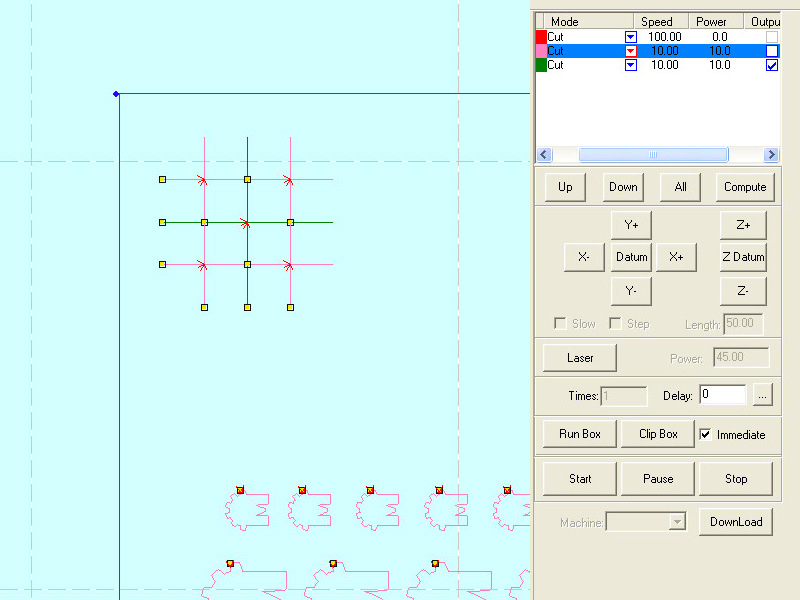
After importing your file uncheck ‘output’ for the outside box (scroll sideways to see it) same for all the other cutlines. To begin with you just want to send part of the alignment paths while maintaining the origin point of the outer box.

Get the proper Z height then carefully move the honeycomb bed up against the frame of the laser to help keep things square(ish). Recenter it when you are finished, as you don’t want it rubbing on the frame. Then do your best to align the laser head to the upper left corner of the cut out…
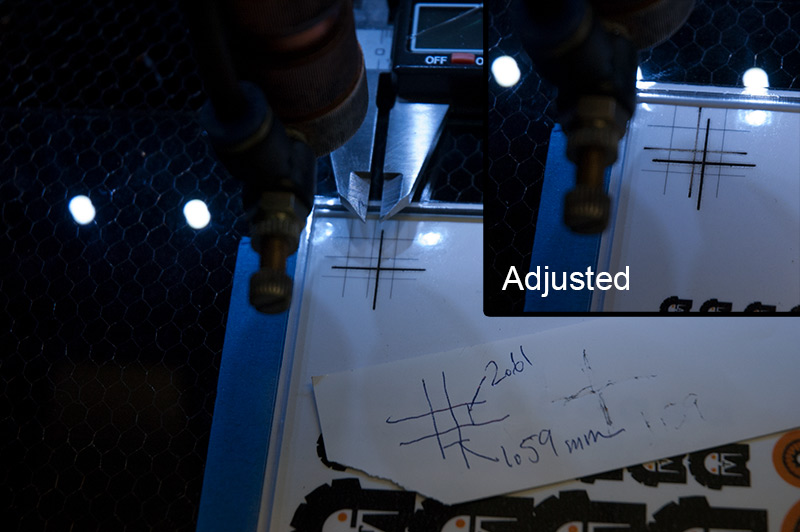
First test cut I did was low to the bottom right, using calipers I recorded how much it was off. Taking it back into Illustrator, (cutting software seems to lack precise movement options?) I used the move command on everything but the outside box. Re-save and import back into the main laser file. Just make sure the outer box retains the same origin point. As you can see in the adjusted pic, the cut now lines up with the printed version.
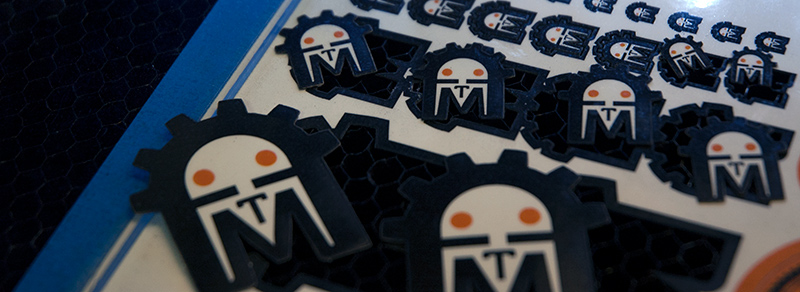
After some annoying work arounds for the less than stellar laser software you have yourself some custom cut stickers! The smaller gear teeth turned out pretty good, the laminate making to them strong enough not to tear when the backer was removed. If I was to print this sheet again I would give each sticker shape its own alignment marks and reduce the numbers of smaller stickers. Aligning one section of stickers did not guarantee the entire sheet would be lined up; hence the need for patience and multiple tweaks to the file.
Lastly, if you need more than a handful in quantity do some research online. You can easily find companies that will make more durable stickers at a buck each; once you meet the minimum quantities.
Aligning artwork in the laser goes beyond stickers, in a future post we’ll see about making a jig to etch some wood tokens.