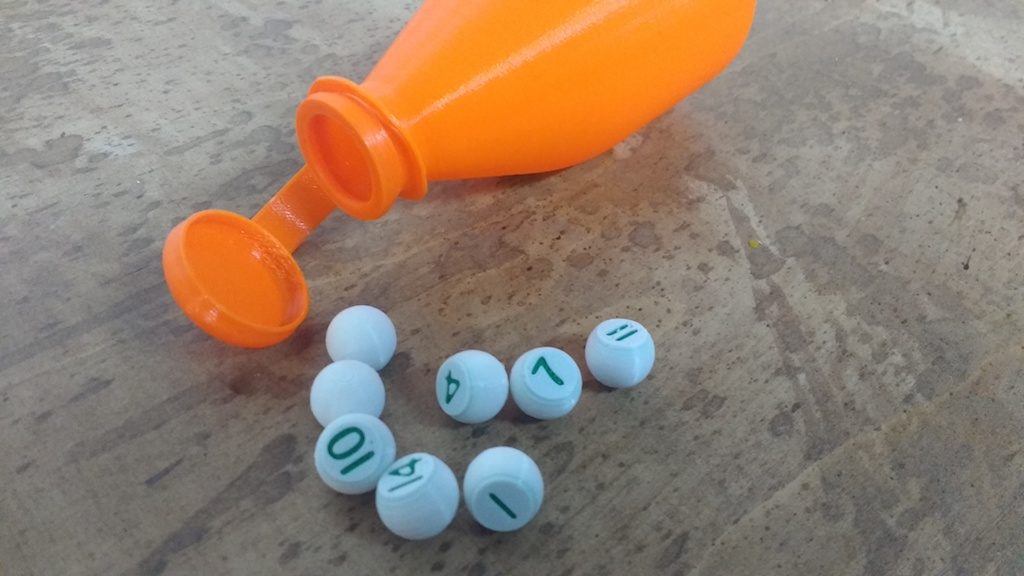
In the last article, I shared a few photos of the numbered ‘billiard peas’ I recently made. Traditionally, these are selected from a pea bottle. This was a great opportunity to try the sample PETG material as well as the ‘spiral vase’ mode available in Slic3r.
When printing anything with a single-thickness wall, there is always a small flaw where the printer advances to the next layer. By default this point will land at nearly the same XY position, yielding an unsightly ‘scar’ running up the side of the piece. This scar is also a weak point of the print.

For this reason, most slicers feature a spiral mode. The printer moves continuously around the perimeter, advancing very slowly and evenly in the Z direction. This gives a superb, continuous surface finish.
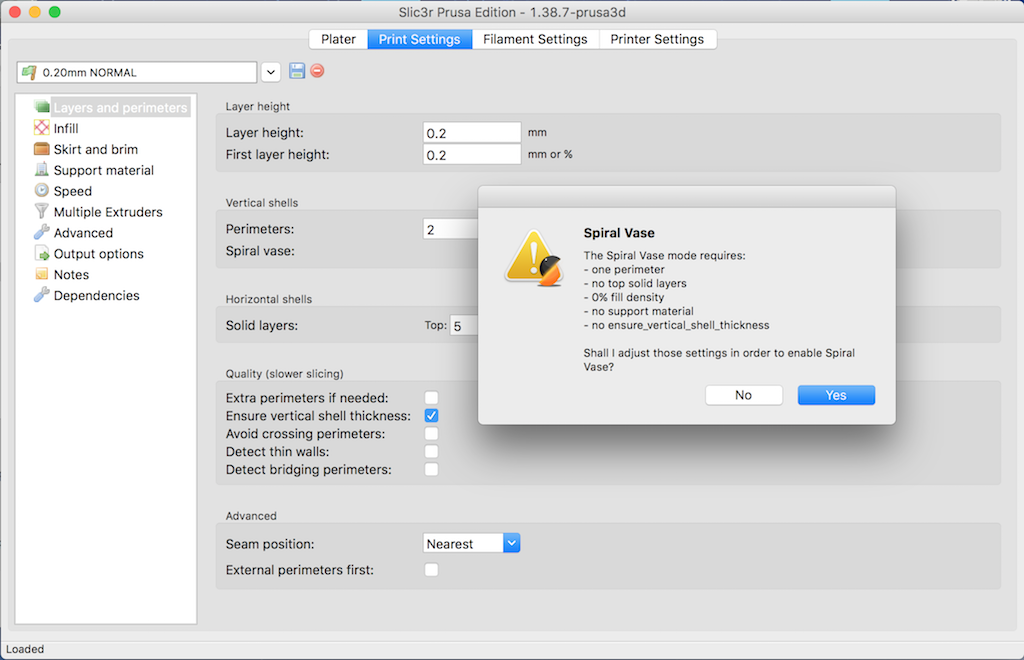
When activating this mode, Slic3r PE automatically sets related settings accordingly; No top layer is allowed, perimeter thickness must be just one filament wide, etc. You can still control the with somewhat by adjusting the extrusion width in the ‘Advanced’ menu. I changed perimeters from .45 to .6 to get a slightly stronger bottle.
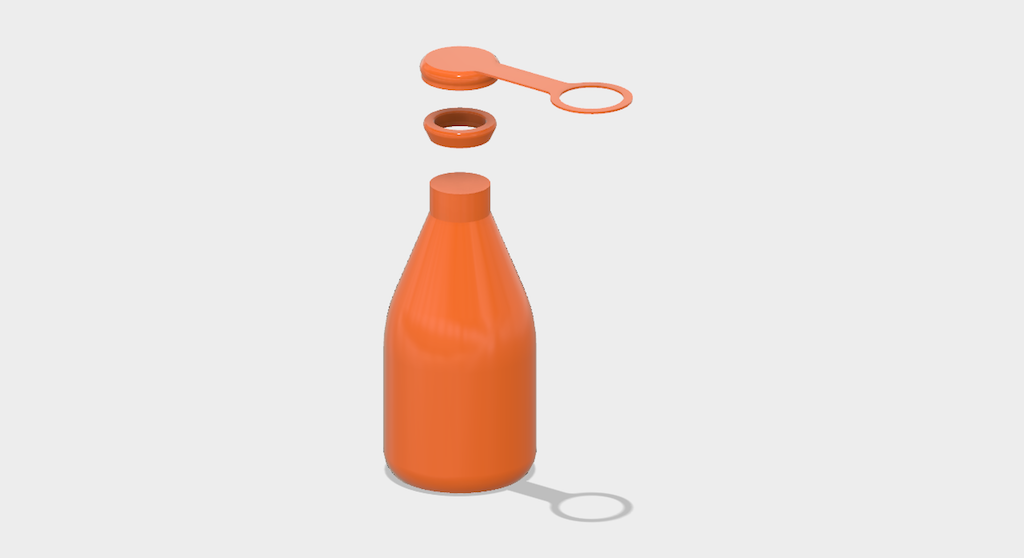
The model should be defined as a solid; otherwise Slic3r will try (and fail) to create both inside and outside surfaces. Model the outside dimensions only.
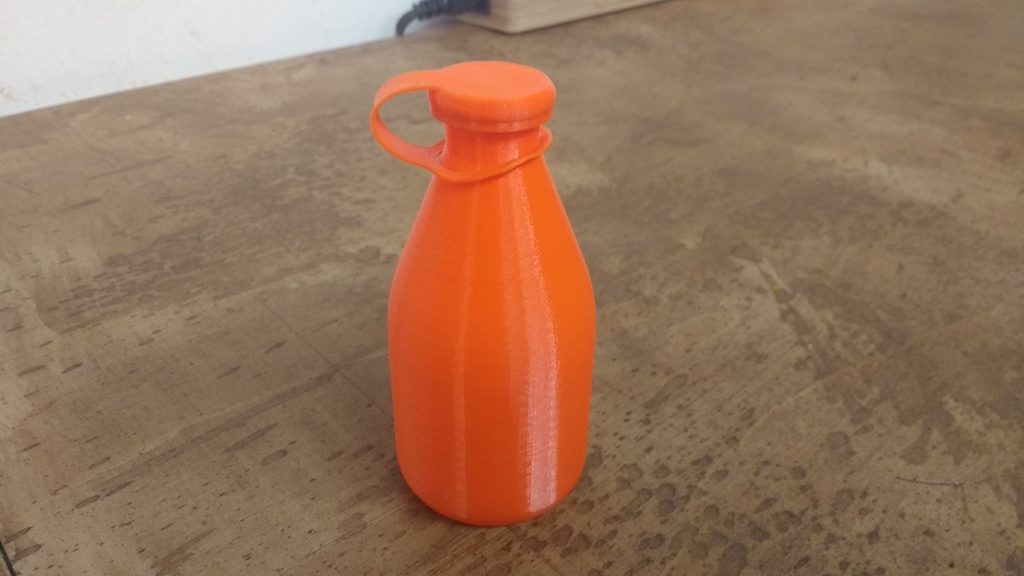
Since I wanted a stronger lip for my bottle, I designed a separate piece to be glued on later. I also made a snap-on cap, with a retaining ring, just to see how well this works with PETG.
I’m happy to say it worked perfectly on the first try. The PETG material is easy to work with on our Prusa, and noticeably more flexible than PLA when printing such a thin section.
Give it a try!