Three guests at last night’s meeting: Grant, Charles and our faithful regular, Enric.
Charles has a good deal of experience with Solidworks, and Grant has used 3D printers before, some years ago. We walked through a print job on both printers and talked a great deal about it all.
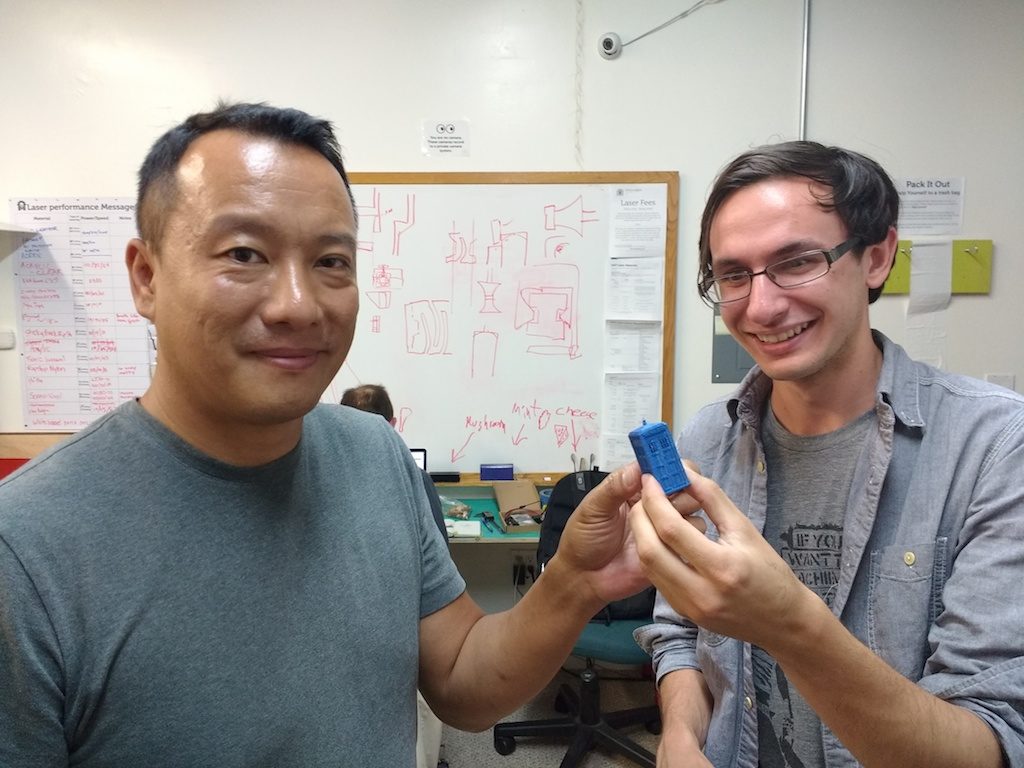
Grant admired Sean’s Tardis, sitting up on the shelf, but that’s a large and rather involved print, so we found a smaller Tardis on Thingiverse to use as an example print.
Enric is still making interesting electronic wearables that all need custom cases. Lately he’s been working with electroLuminescent wire!
The big news of the night, if I may say so myself, is that the Type-A Machines printer upgrade is (mostly) complete!
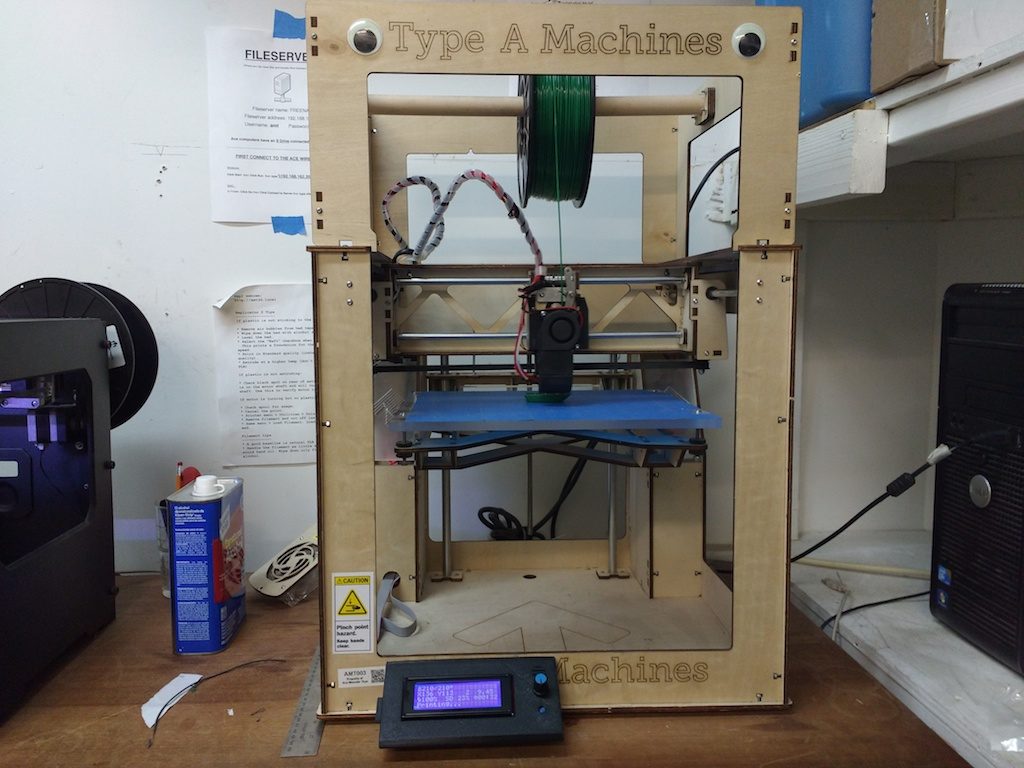 Previously one had to print tethered to the PC, which can be prone to communication errors, and requires a bit of know-how to do basic things like leveling the build plate. Fortunately the Type-A controller is a standard RAMPS 1.4 board, which is plug-in-compatible with an ubiquitous and cheap LCD/SD card reader module; cost: $8.00. While I was at it, I got a new-style 0.4mm hot-end, reworked the fans, and re-flashed the firmware to match.
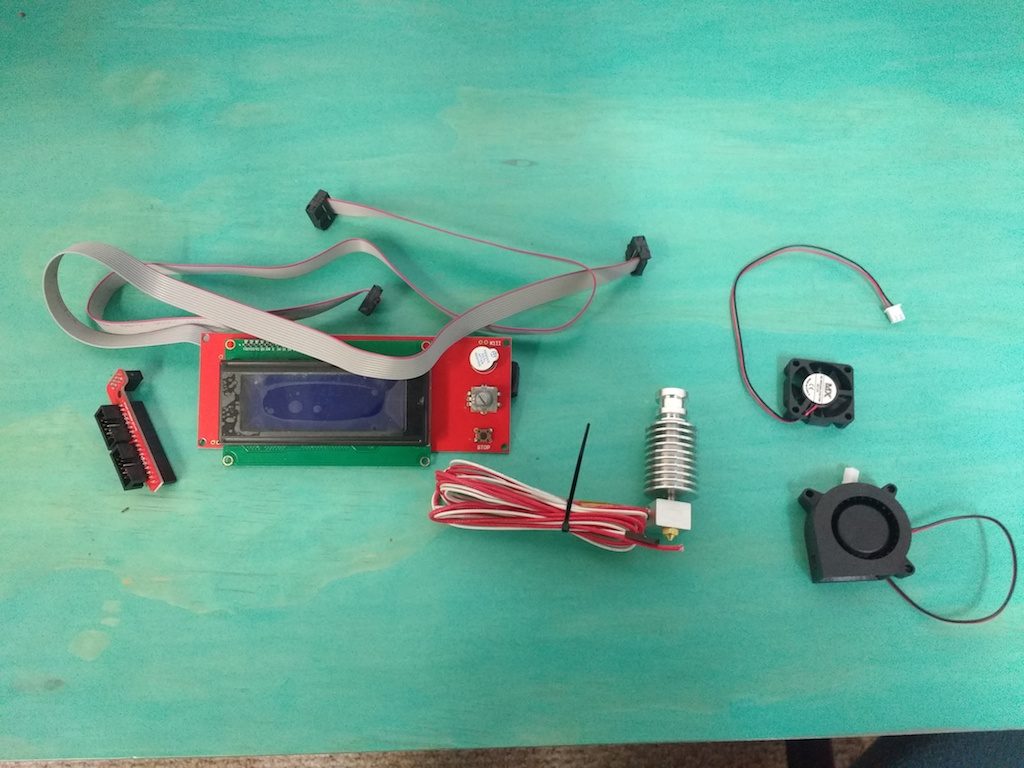 I designed the LCD case/bracket and fan shrouds in Fusion360. Let me know if you’re interested in how that was done.
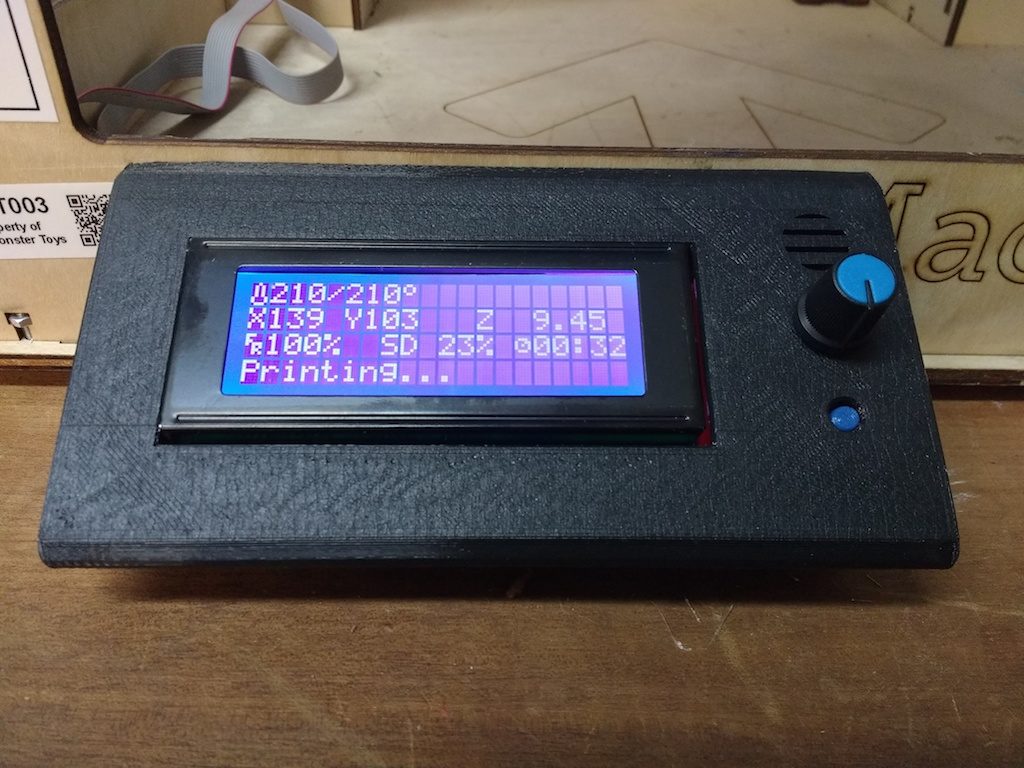
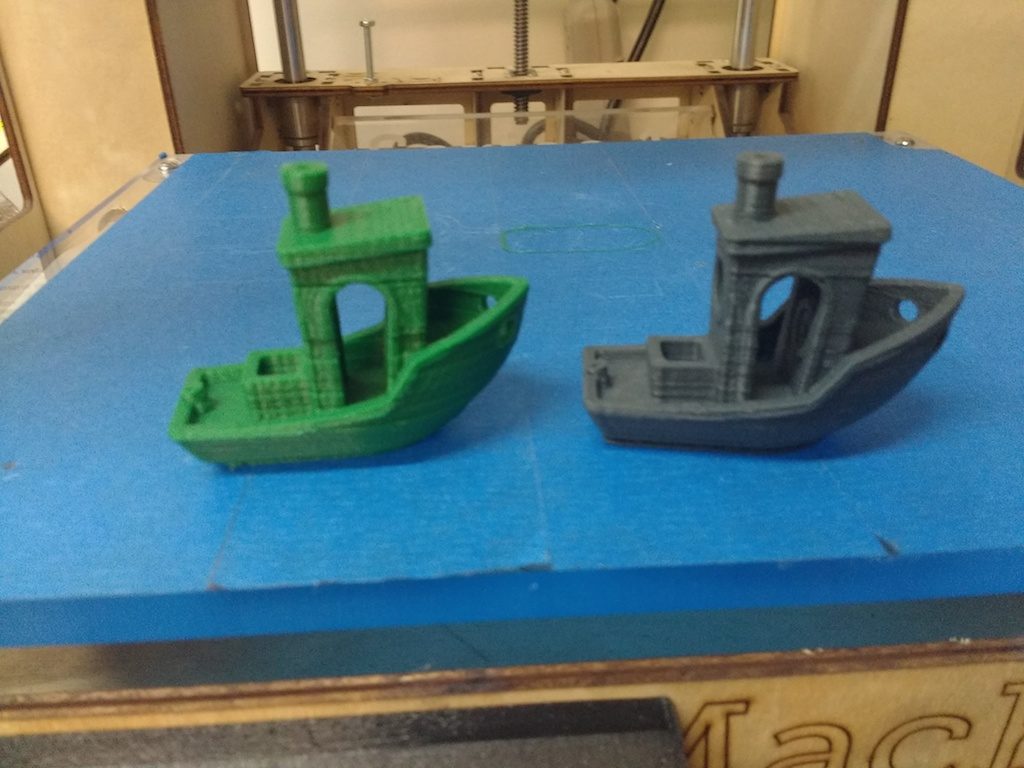
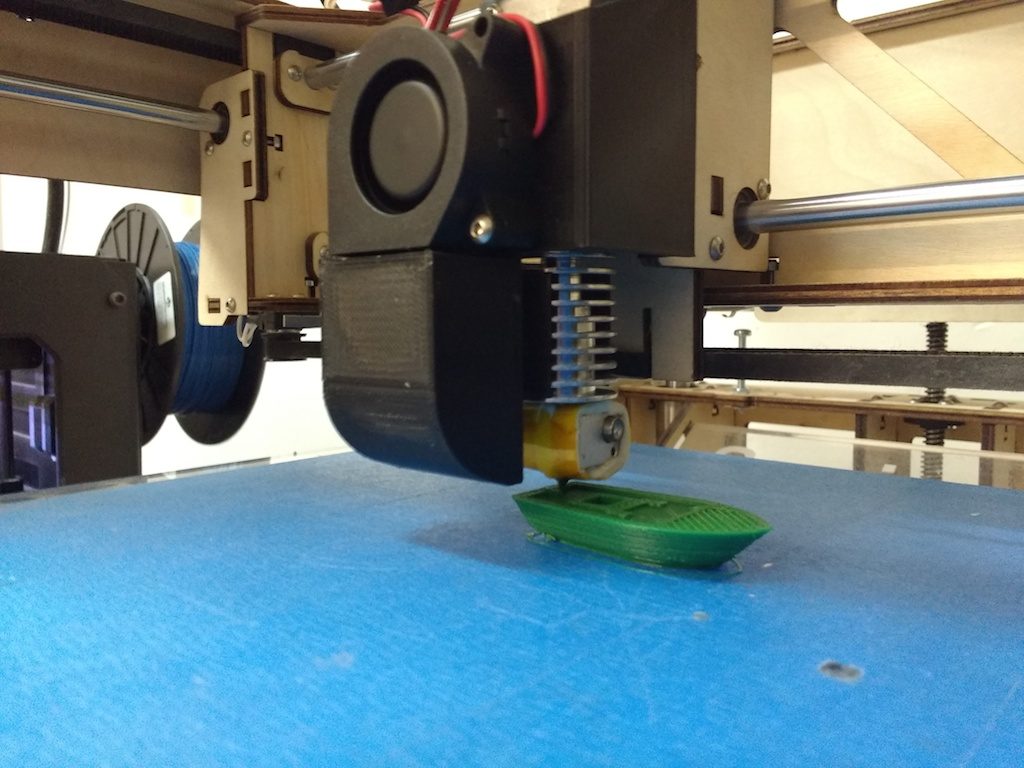 It all works fine, but I’m chagrined to admit that the quality is still a bit disappointing; layers are a bit misaligned, and extrusion is inconsistent. I think maybe belts need tightening, and maybe the extruder pinch-roller needs a stiffer spring. Still, for less than $20.00 invested, we’re not out much if I can’t manage it.
 It also needs updated documentation, which I’m tackling next. If you’re experienced and anxious to try it out, essentially the workflow is this:
- Use Cura to slice
- Export to G-code
- Save G-code to the SD card (please leave it in the Type A; the SD card fits in the printer upside down; brass contacts up)
- Use the LCD menu to select print from SD
Note that the SD cards should not be switched! The Replicator 2 requires an old-style SD card, so let’s please keep them separate.
I also plan to add menu-items to the LCD to assist with changing filament and leveling the bed. And finally, I need to document the firmware tweaks and check it all in to our GitHub account. Watch this space for news!